Fleet
Creating a New Fleet Policy: A Step-by-Step Guide
This guide provides a comprehensive walkthrough of the process for creating a new fleet policy within the system. Each step is illustrated with a screenshot to ensure a clear understanding of the process. Follow these instructions carefully to successfully create your policy.
Start url: https://loyaltylive.genovainsure.com//cia/underwriting/search-policy
Tab Name: Search Policy - GENOVA INSURANCE
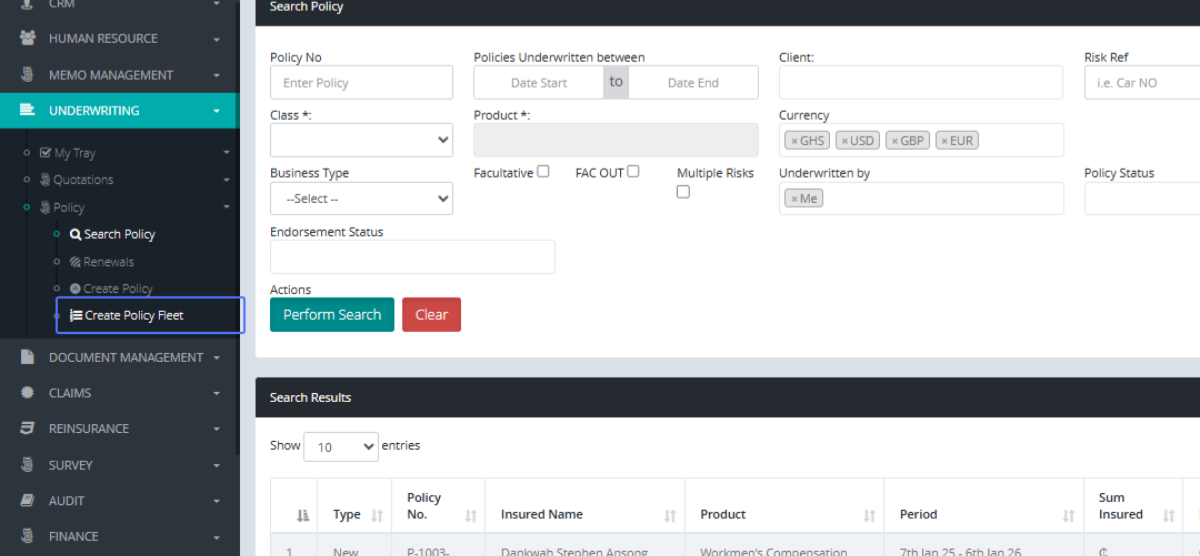
Navigate to the Fleet Policy Creation Page: Within the Policy Tab Under the Underwriting Section, click “Create Policy Fleet”
Tab Name: Create Policy Fleet - GENOVA INSURANCE
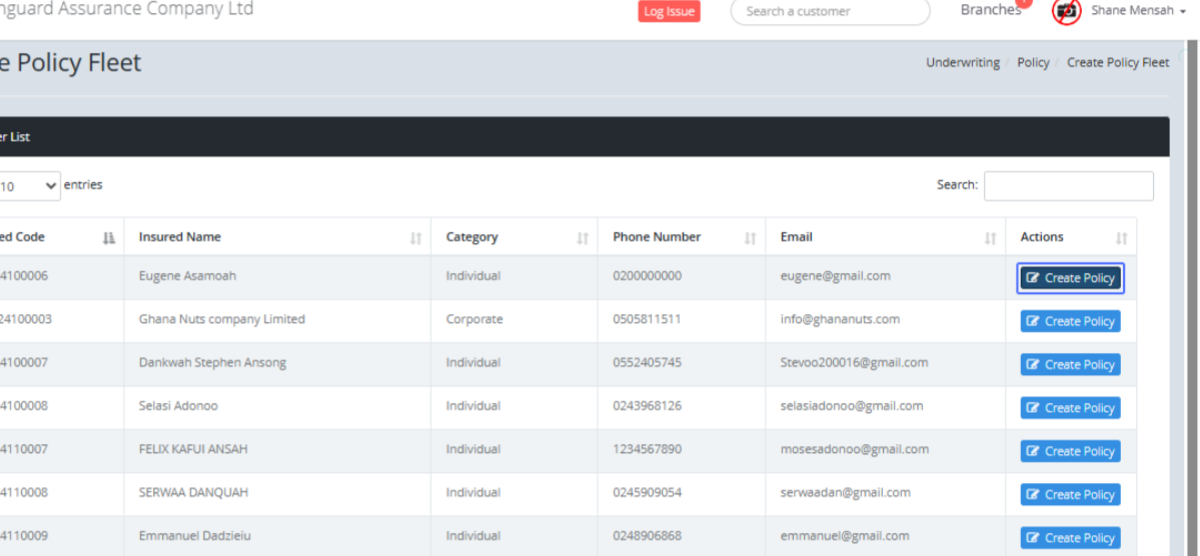
Initiate Policy Creation: Select the Customer you want to use to create the Policy.
Select Policy Class : Select the “Motor” Class of Business
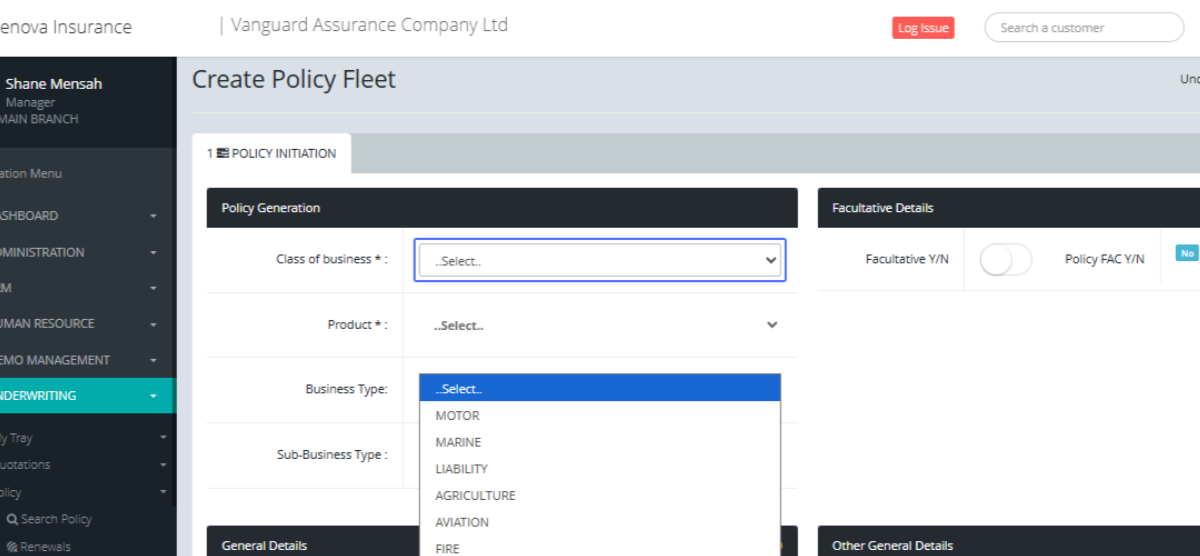
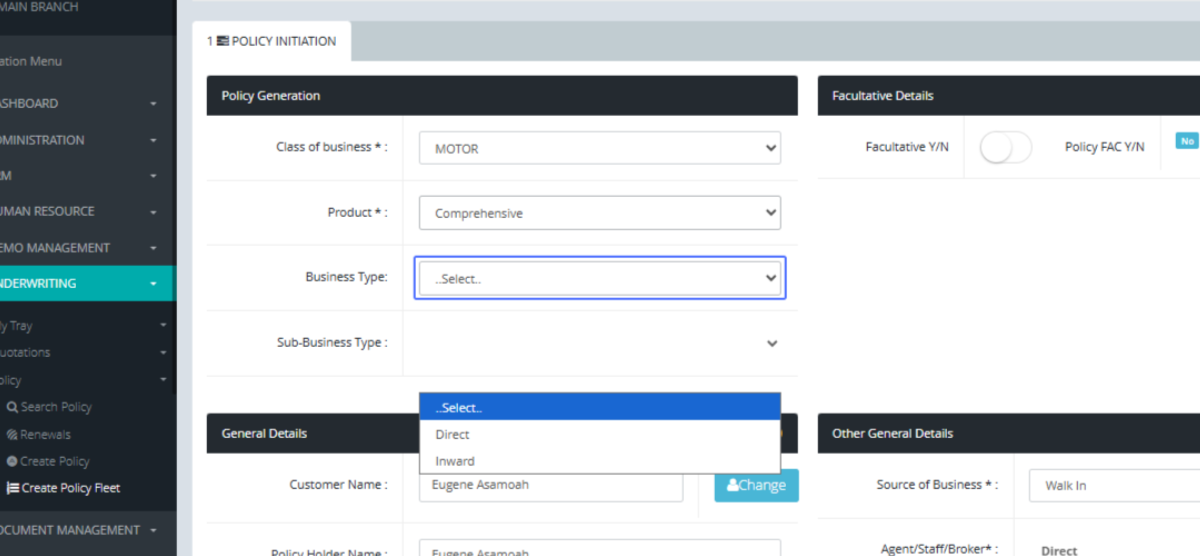
Choose Policy Product: Choose the Motor Product from the dropdown.
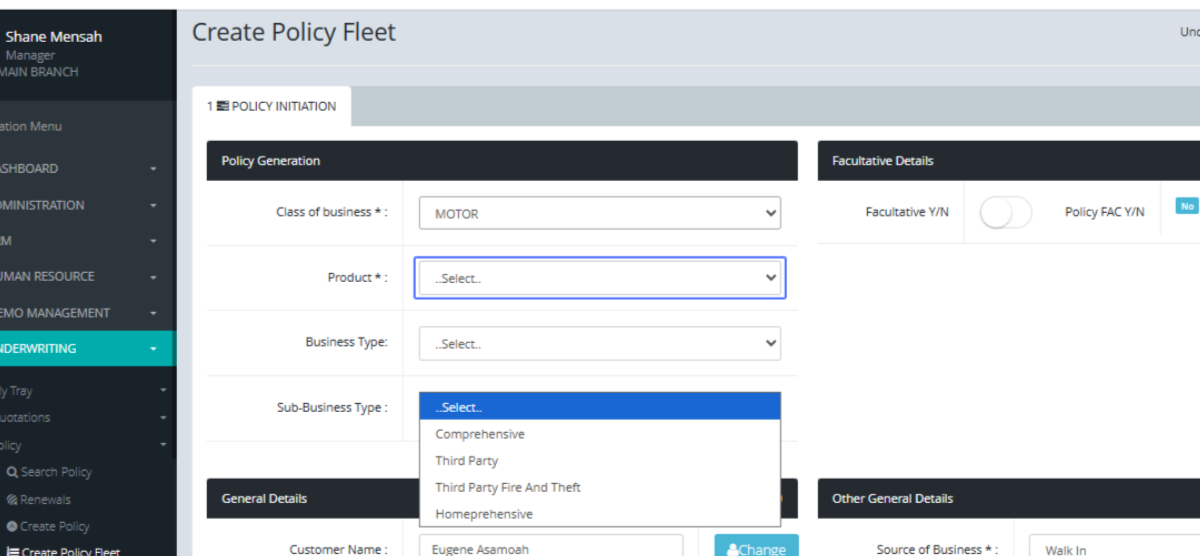
Specify Business Type: As usual, you select the Business Type.
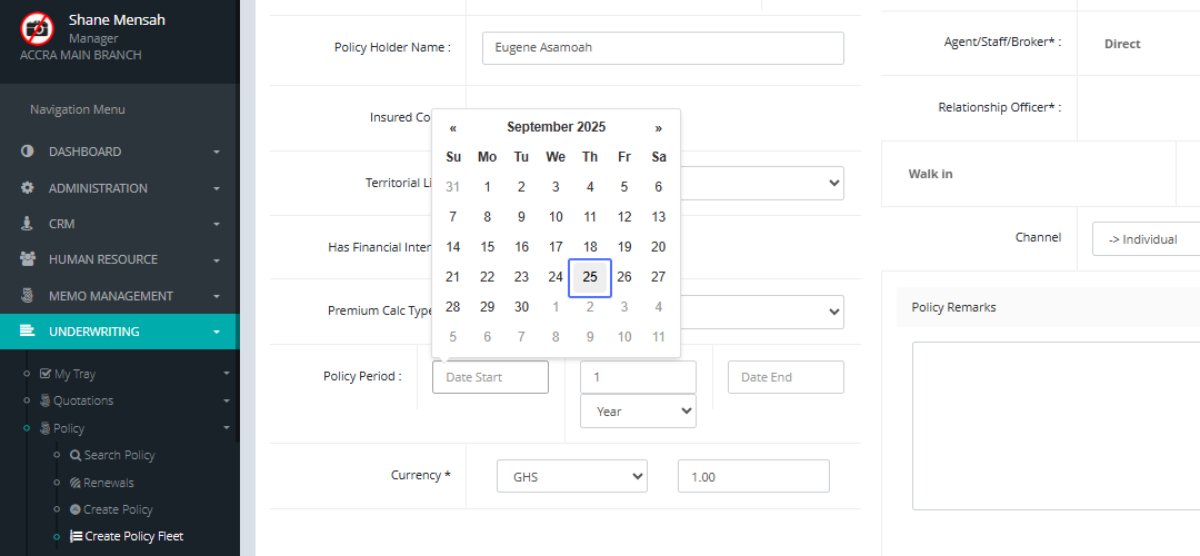
Enter Policy Start Date: Click the Start Date of the Policy to open up the date selection Modal.

Select Policy Start Date from Calendar: Select the Start Date of the Policy.
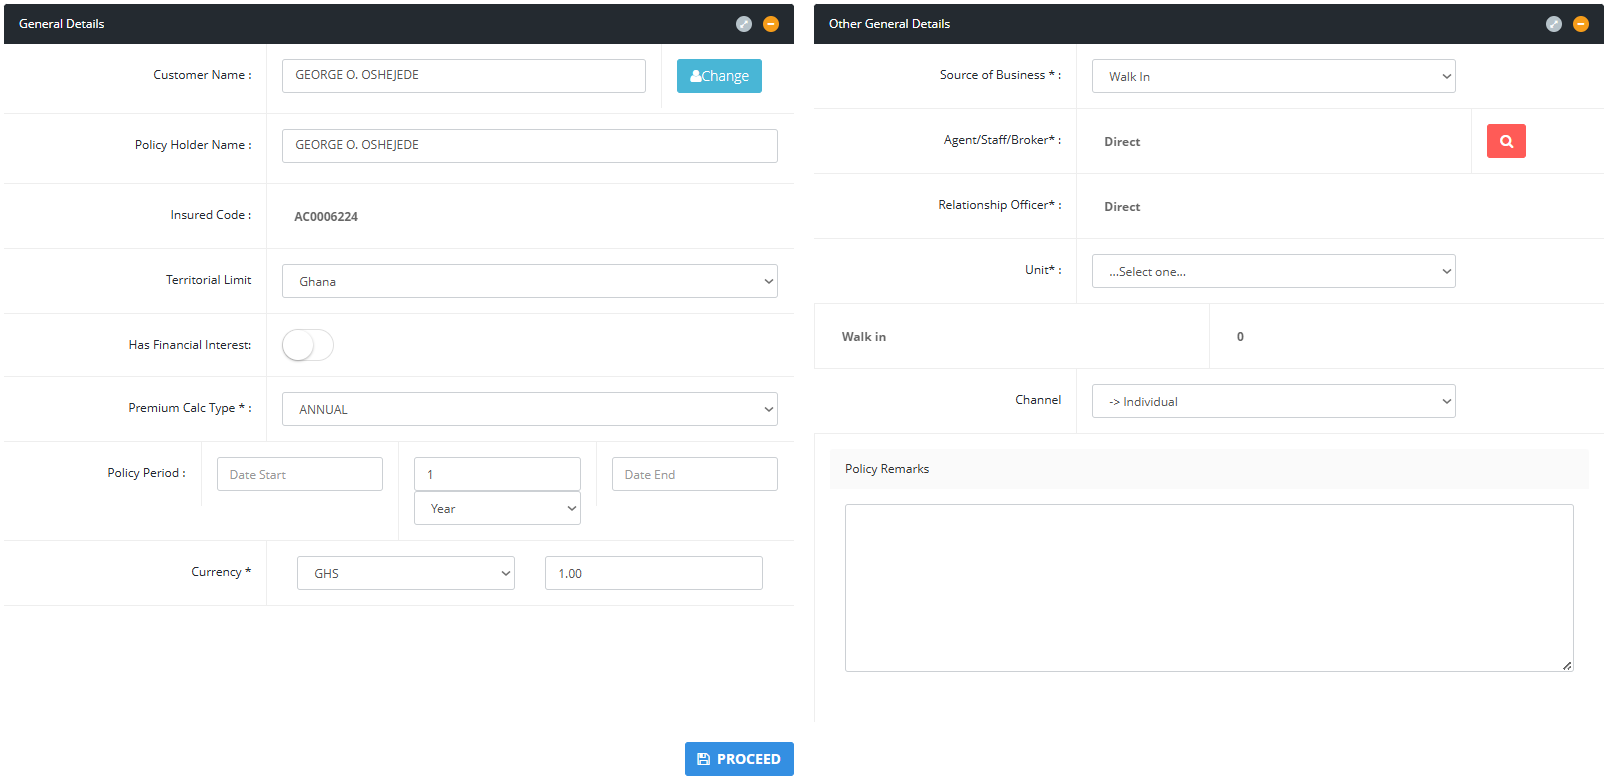
Proceed to the Next Step: Click proceed to create policy and navigate to the Risk Details Page
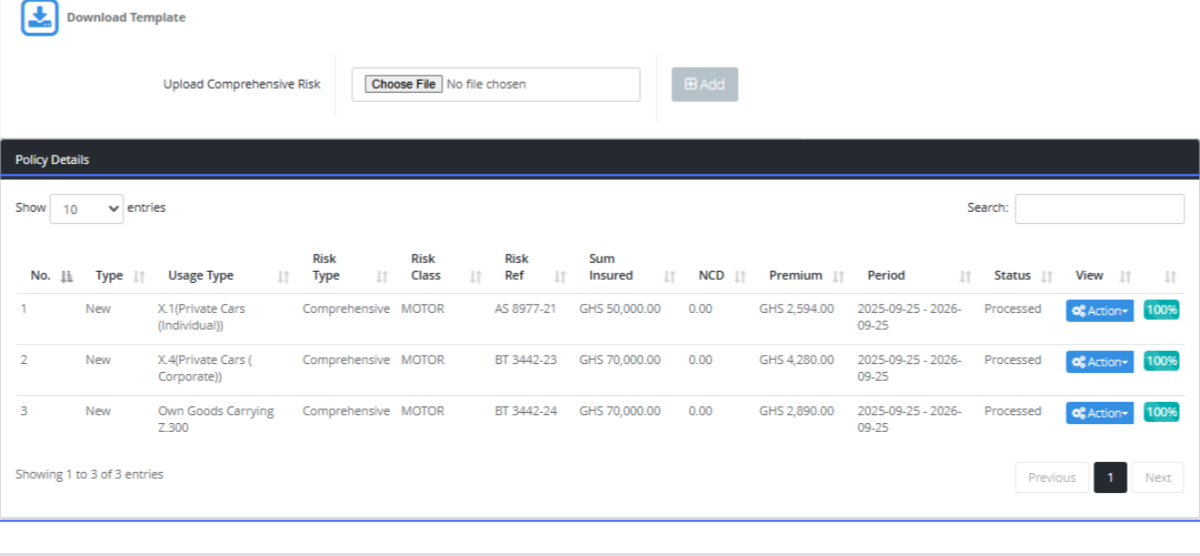
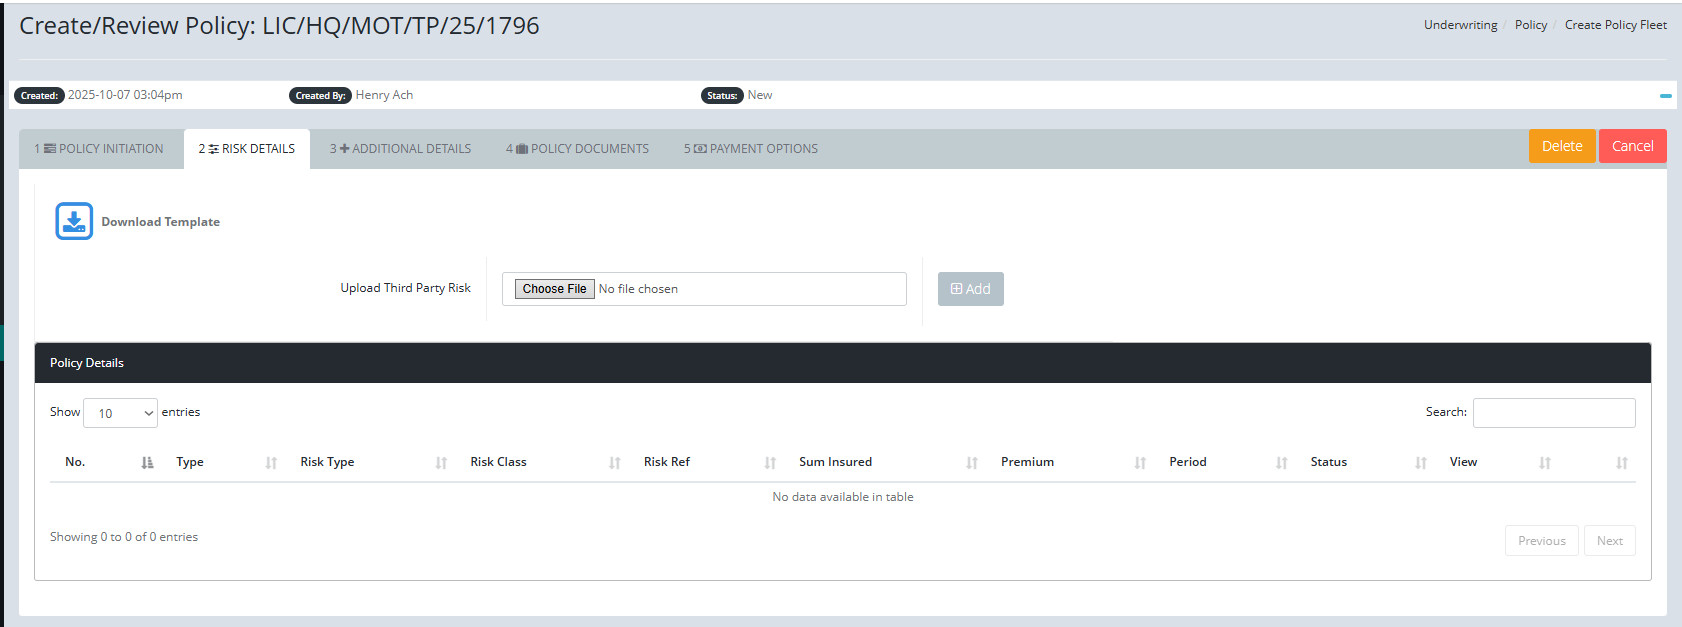
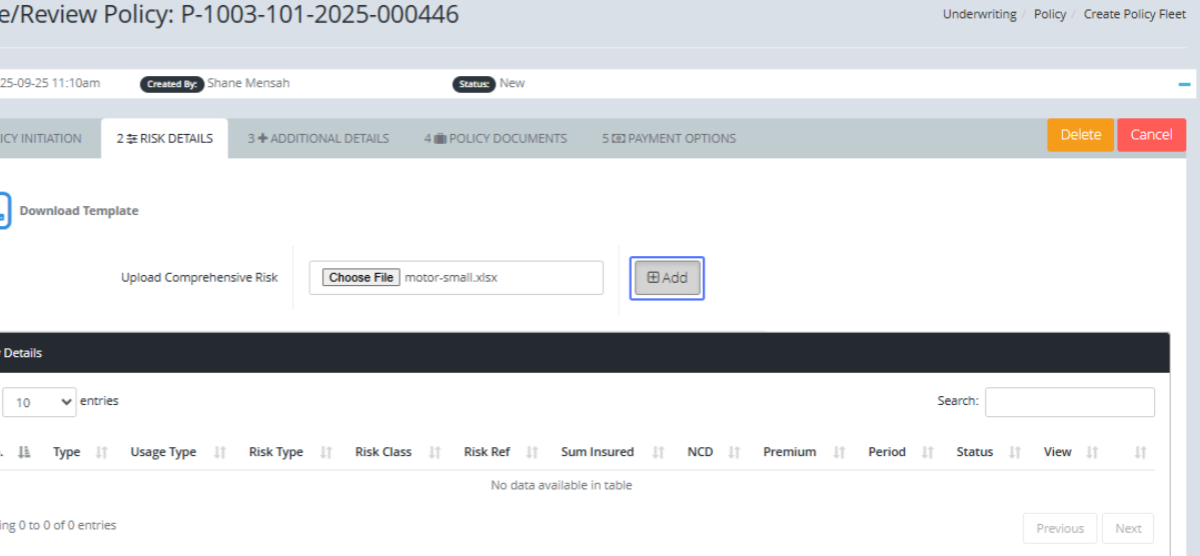
Upload Supporting Documents: On this page, Users can download the Excel template and populate it. When that is done, select the file to upload it.
Add Risks: When that is done, click on the Add Button to start the Fleet processing.
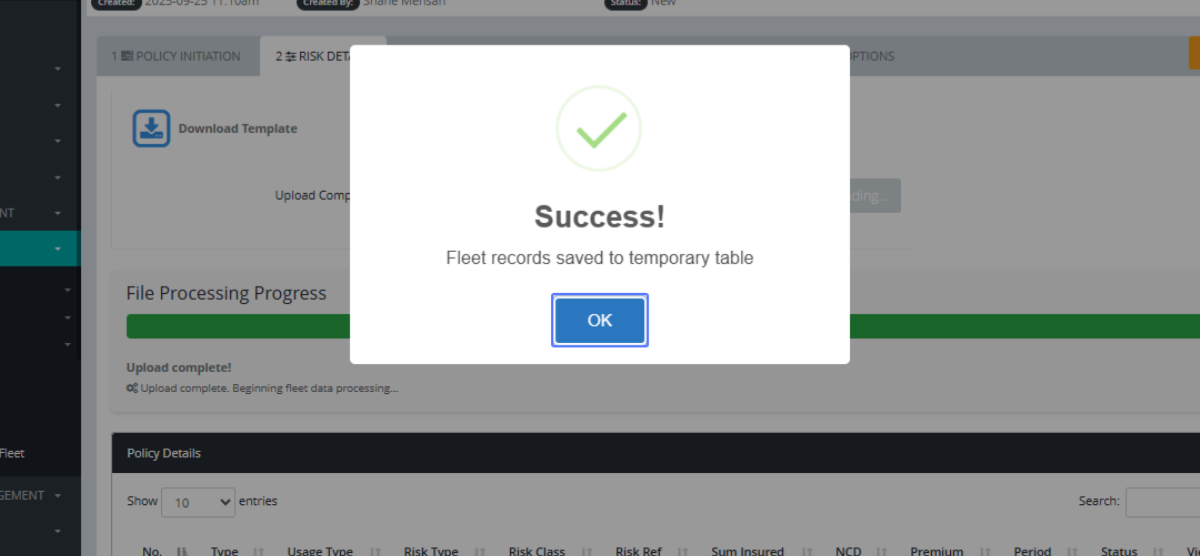
Acknowledge Risk Addition: If that is successful, you will see a success Modal
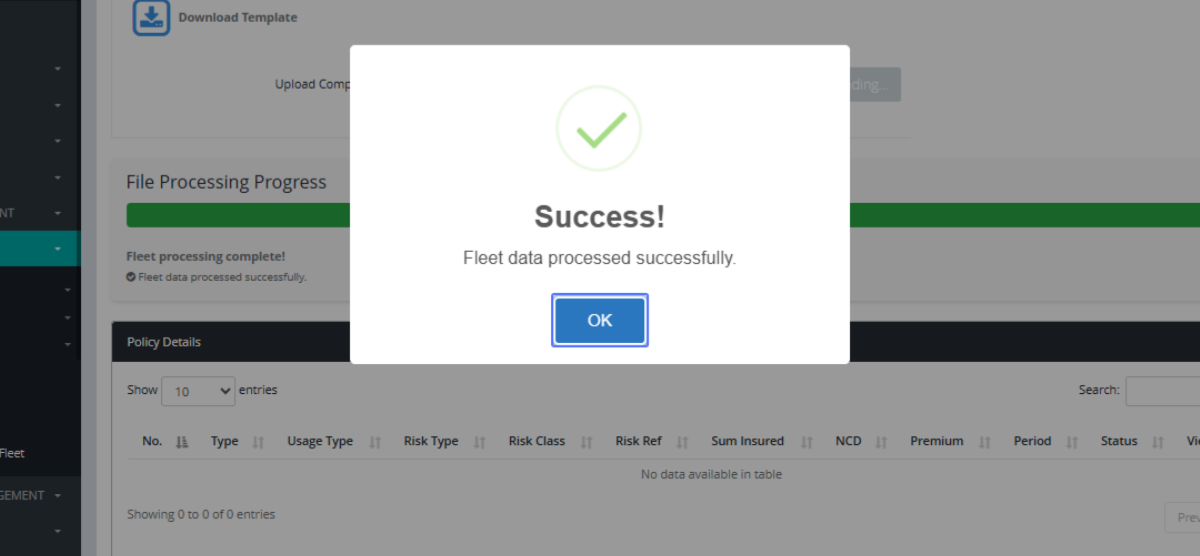
Confirm Policy Details: The Fleet will then process. After fleet processing, the success modal will popup.
Review Policy Details: You will then see the fleet risks being populated on the screen.